I ran across the Launch4j project while create a swing desktop application. I had used Netbeans to develop the app, but there were some configuration files outside of the app then needed to included in the classpath for it to work.
One option was to use a Windows batch file to launch the script. This didn’t seem to be the most elegant solution, so I did some research, and found Launch4j.
To get started, download the Launch4j at http://launch4j.sourceforge.net/
I just downloaded the zip file and extracted it under c:\program file.
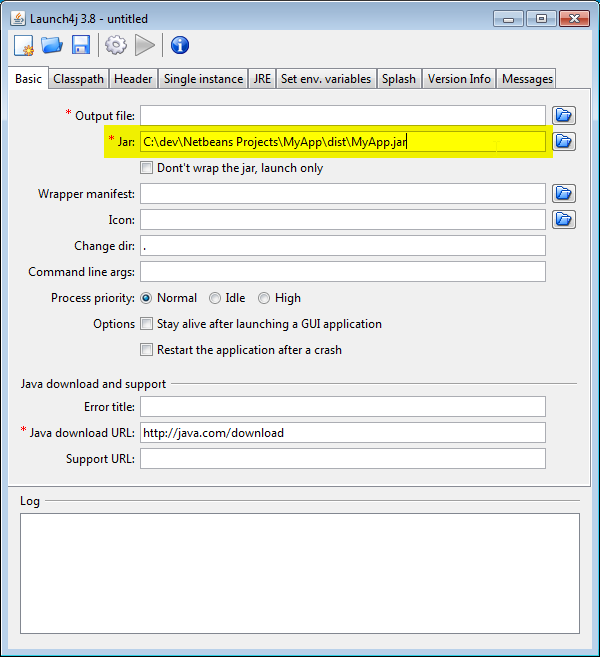
When you run it, you’ll be greeted with this screen.
It may look a bit overwhelming, but it’s really pretty simple.
The first thing I like to do is select my jar file for my project.
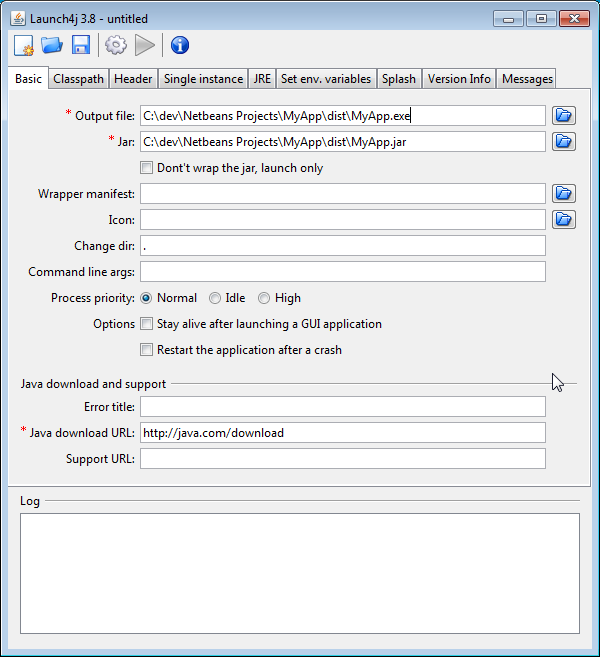
From there, copy and paste the text in Jar to the Output file section, but change the extension to .exe
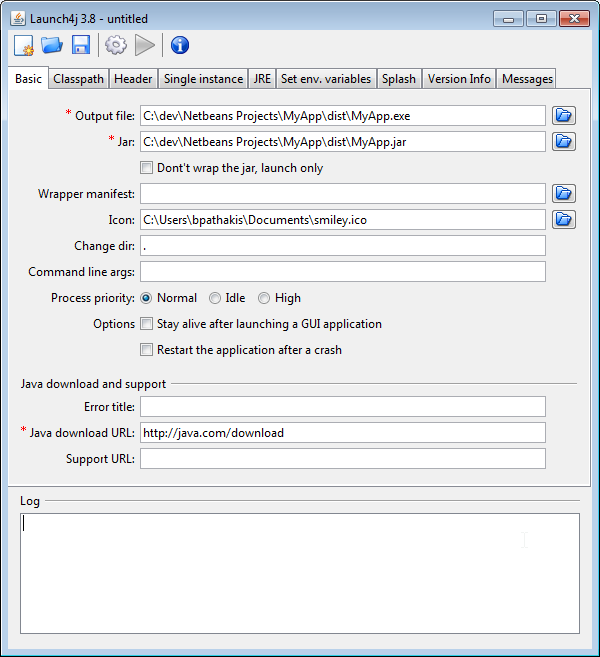
I usually include an icon as well.
The next step is to include classpath. Make sure the Custom classpath checkbox is selected, the browse for the jar file for you app under main class.
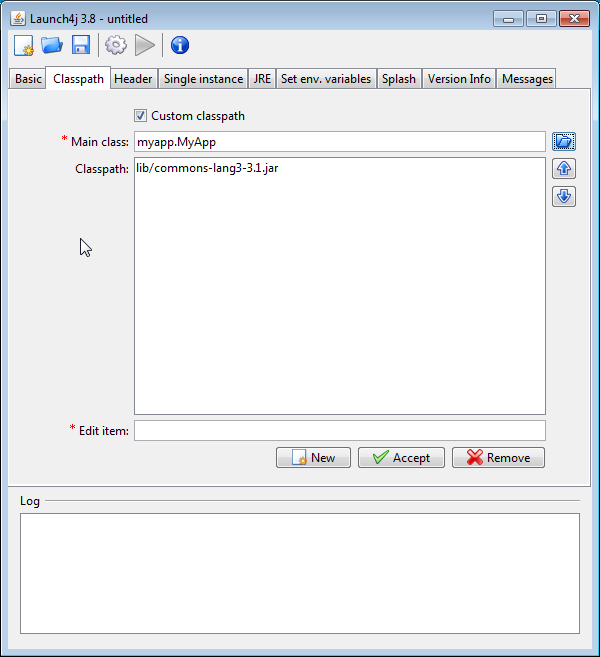
Notice that in the classpath section there is a jar file for the Apache commons project. The simple app I’m using for this demo includes this jar, so it’s automatically include in the classpath.
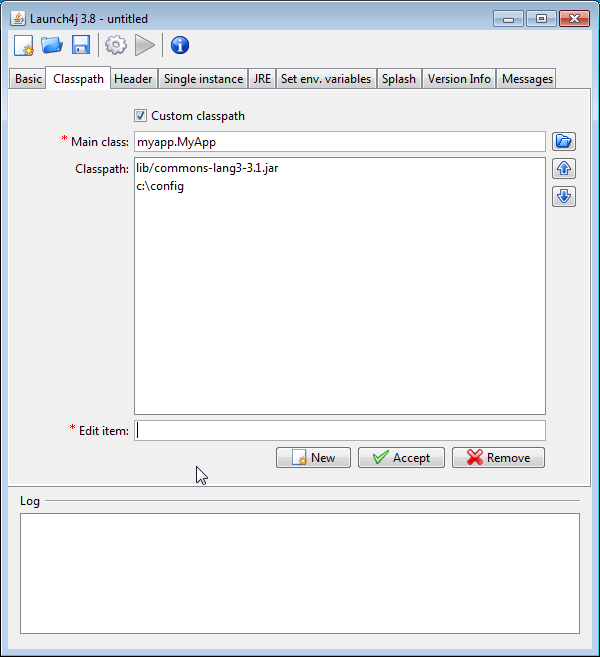
You can also add other items to the classpath, such as configuration directory, by typing it into the Edit item portion and choosing accept.
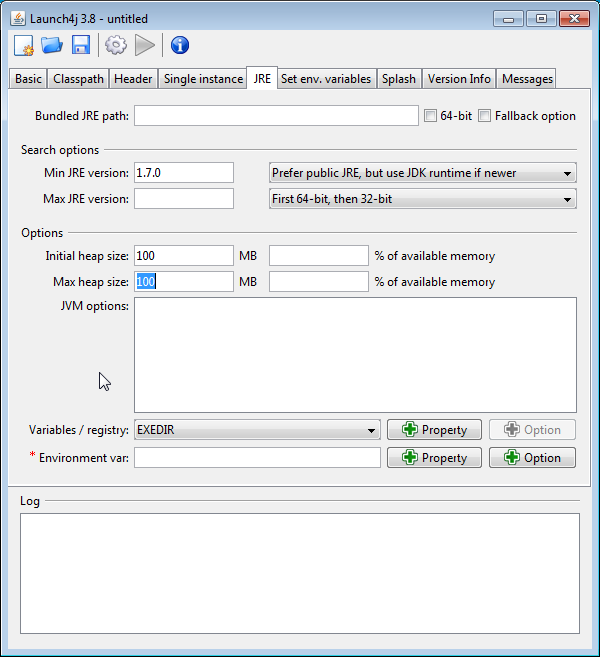
You can also set the required Java version
That’s the basics,. although there are a bunch of other useful options as well. At the point, click the save icon, and it will save your configuration as XML file. Then click the gear icon, and it will generate your .exe file.